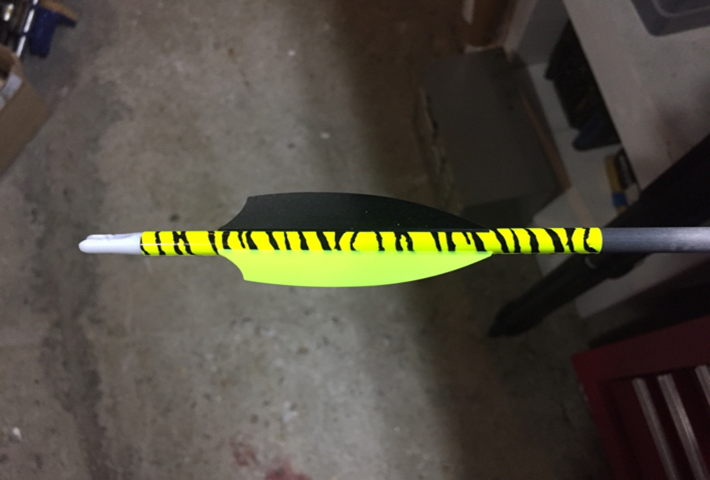
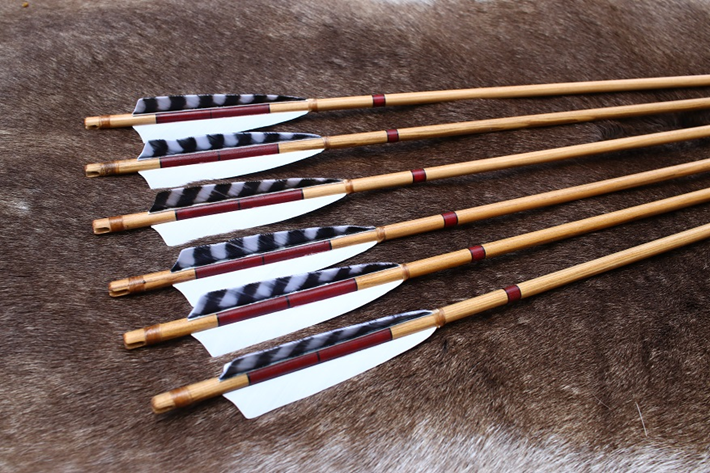
Ever wondered why some archers spend hours hunched over workbenches, meticulously crafting their own arrows? It’s not just about saving a few bucks or killing time. For many, it’s about connecting with an ancient craft, fine-tuning performance, and experiencing the satisfaction of shooting something you’ve created with your own two hands.
Why Build Your Own Arrows?
Customisation Is King

Off-the-shelf arrows are great, but they’re one-size-fits-most. When you build your own using an easy-to-use arrow-making kit, you can tweak every aspect to match your bow, shooting style, and intended use.
Want arrows that are a smidge heavier for big game hunting? Or super-light for target practice? You got it. Factors such as arrow length, spine (stiffness), weight, and fletching (feather or vane) can be adjusted to match your bow’s draw weight, your draw length, and your shooting style.
Cost-Effective (Eventually)
To be realistic, the initial investment in arrow-building supplies isn’t cheap. But if you’re an avid archer, you’ll save money in the long run by crafting your own arrows. Over time, you’ll save more by repairing and reusing shafts rather than constantly buying new ones.
It’s Oddly Therapeutic
Building your own arrows is an excellent way to develop a deeper understanding of archery and improve your overall skill set. The process requires a certain level of precision and attention to detail, which translates into better shooting technique and form.
There’s something zen-like about the arrow-making process. It’s a chance to slow down, focus on a tangible task, and create something with your hands. In our fast-paced, digital world, that’s pretty refreshing. Plus, you get all the bragging rights. Hitting the bullseye is great. Hitting the bullseye with an arrow you crafted yourself? That’s next-level awesome.
What You’ll Need: The Arrow-Making Arsenal
Ready to jump in? An arrow-making kit includes all the essential tools and materials needed to start building your own arrows.
Essential Tools
• Arrow Shaft Cutter: A must-have tool to ensure clean, precise cuts for your arrow shafts. No ragged edges here!
• Arrow Fletching Jig: This contraption holds your arrow shaft and fletching in place while the glue dries. It’s like an extra set of hands, but more precise.
• Fletching Tape or Glue: To stick those pretty feathers (or plastic vanes) onto your shaft.
• Insert Installation Tool: For securely attaching the point inserts to your arrow shafts.
• Nock Installation Tool: Because nobody wants a loose nock when they’re at full draw.
Arrow Building Parts
• Arrow Shafts: Aluminium, carbon, or wood – pick your poison based on your needs and preferences.
• Fletching: Feathers for a traditional look and better performance with recurve bows, or plastic vanes for compound bows and durability.
• Nocks: These little plastic ends keep your arrow on the bowstring. Choose the ones that fit your shaft diameter.
• Field Points or Broadheads: Depending on whether you’re target shooting or hunting.
• Inserts: These go inside the front of the shaft to hold your points.
Tips for Crafting Your Perfect Arrow

Now that you’ve got your arrow-building products, here are some pro tips to up your game:
- Consistency is Key: Use the same process for each arrow. Measure twice, cut once, and be meticulous. Your future self will thank you when all your arrows fly the same.
- Start Simple: If you’re new to this, begin with basic target arrows before moving on to hunting arrows or fancy fletching patterns.
- Test, Test, Test: After making a batch, shoot them all and look for any inconsistencies. It’s better to catch issues at the range than in the field.
- Label Your Arrows: Mark each arrow with a number or colour code. This helps you track performance and identify any “problem children” in your quiver.
- Experiment: Once you’ve got the basics down, don’t be afraid to play around. Try different fletching configurations, shaft materials, or weights to find what works best for you.
- Join the Community: There are tons of forums and social media groups dedicated to arrow building. Join in, ask questions, and share your experiences. Arrow makers are generally a friendly bunch!
- Safety First: Always work in a well-ventilated area, especially when using glue or cutting carbon shafts. Those tiny carbon fibres are not something you want to inhale.
The Joy of the Process
Building your own arrows isn’t just about the end product. It’s about the journey. It’s those quiet evenings in the garage, the smell of fletching glue, the satisfaction of perfectly aligned vanes. It’s about carrying a piece of yourself out into the field or onto the range.
Sure, it takes time. Yes, there’s a learning curve. But for many archers, the benefits far outweigh the investment. There’s a special kind of pride in watching an arrow you crafted with your own hands sail through the air and hit its mark.
Reap the Rewards
So, are you ready to give it a shot? Grab that arrow-making kit, clear off a workspace, and dive into the world of DIY archery. Who knows? You might just craft the perfect arrow – and find a new passion along the way. Remember, every master arrow maker started as a beginner. So don’t get discouraged if your first attempts aren’t perfect. Keep at it, and before you know it, you’ll be creating arrows that fly true and hit hard.


