Contents
Kegging is a popular method for storing and dispensing homebrewed beer. While bottling your beer can be time-consuming and tedious, kegging allows you to carbonate, store, and serve your beer effortlessly. Not to mention, it also gives you greater control over the carbonation levels and can help preserve the freshness and flavour of your beer over time.
What Equipment Do I Need for Kegging Beer?
You will need a homebrew keg, a liquid and gas disconnect to connect to the Cornelius (corny) keg stems, food-grade vinyl tubing for the beer and carbon dioxide (CO2), a CO2 tank, a CO2 regulator, a faucet, tubing, and O rings.
Kegs
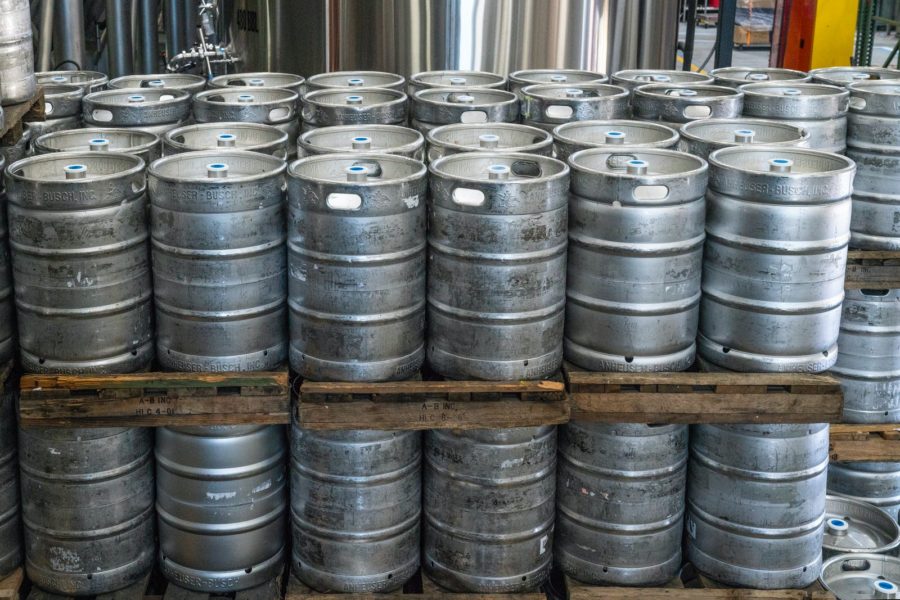
Kegs are the vessels used to store and dispense your homebrewed beer, offering a convenient and reliable way to do that. With proper care and maintenance, a home brew keg can last many years and provide countless delicious pints of beer.
Stainless steel, also known as Cornelius (Corny) kegs, are the most popular choice for homebrewers as they’re durable, easy to clean, and corrosion resistant. You can reuse them multiple times, making them a more sustainable option than single-use bottles.
When searching for homebrew kegs online, you’ll notice they come in different sizes, typically ranging from 10 to 20 litres for smaller and 40 to 55 litres for larger batches. Kegs also come in two different styles: ball lock and pin lock. The primary kegs have a single handle on top of them, while pin-lock options have two handles on either side.
Ball lock kegs are more commonly used by homebrewers as they are easier to find and use. Choose one and stay with it so you won’t have to worry about multiple connectors and fittings, even though people may have reasons to prefer one over the other.
When selecting home brew kegs it’s necessary to consider the condition and whether they have been correctly cleaned and sanitised. Used kegs can be a cost-effective option, but more often than not, they have dents or cracks that could affect the seal or safety. So, you need to inspect used kegs carefully if you decide on them as an option.
Connectors
Each keg has two connections: one for injecting CO2 and the other for releasing a beer. An easy way to establish one is via quick disconnects, available in stainless steel or plastic. Consider purchasing various colours to easily distinguish the gas from the beer connect because pin lock gas and liquid connectors can look almost identical, but ball lock connectors are visibly different.
CO2 Tank
The gas used to carbonate and force the beer into your glass is CO2. Homebrewers typically use five-pound tanks because they are simpler to transport, but you can fill a 70l tank for only a few dollars extra if you want to serve a lot of beer and aren’t concerned about mobility. Make sure the tank is certified before you decide to purchase one.
Regulator
It takes a regulator to maintain safe CO2 levels because a full CO2 tank has a pressure of 800 PSI, far more than is required to carbonate and serve beer. The regulator allows you to set the preferred PSI and use a gauge to check the pressure. It screws onto the CO2 tank.
Faucet and Tubing
You need a faucet or tap to regulate the beer flow when serving. The most affordable choice is to purchase a picnic tap. You can also create a kegerator or jockey box with a tap handle for more eye-catching serving. The CO2 and faucet must connect to the quick disconnects using food-grade tubing.
O Rings
O-rings are rubber rings that make a tight seal in places like the homebrew kegs hatches. You should replace all O-rings in used kegs, especially if they have stains or an odour.
How to Clean and Sanitise Your Kegging Equipment?
Sanitising your kegging equipment is a crucial measure that prevents contamination and ensures your beer stays fresh and delicious. Use the appropriate c solutions to keep your equipment in top condition and follow these steps carefully:
- Disassemble the keg. Before you start, you’ll need to disassemble the barrel completely. That means removing the lid, dip tube, poppets, and other parts.
- Soak the keg in a cleaning solution.
- Scrub. After soaking, use a soft brush to scrub the inside of the keg, paying extra attention to any areas with stubborn grime or buildup.
- Rinse the keg thoroughly with clean water. Make sure you remove all the cleaning solutions completely.
- Sanitise the keg by filling it with a sanitising solution.
- Assemble the keg: After sanitising, reassemble the keg, ensuring all parts are properly seated and sealed.
- Clean and sanitise other homebrewing equipment. In addition to the keg, you’ll also need to clean and sanitise any other kegging equipment, such as hoses, fittings, and faucets. Follow the same cleaning and sanitising steps for each piece of equipment.
How to Transfer Your Beer from the Fermenter to the Keg?
Once you sanitise your keg, it’s time to prepare your beer for transfer. If you’ve been fermenting in a carboy or other vessel, you’ll need to siphon the beer into a clean and sanitised bottling bucket; if you’ve been fermenting in a bucket with a faucet, you can skip this step.
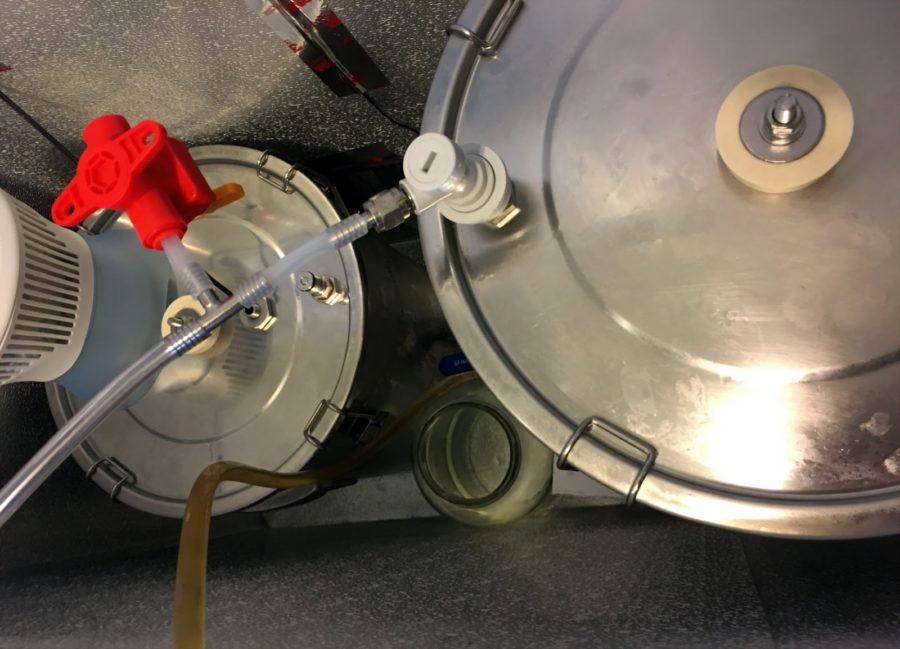
Using a sanitised siphon, attach one end to the bottling bucket or fermenter and the other end to the keg’s “in” post, ensuring you seal it tightly. Begin the transfer using a sanitised racking cane or auto-siphon. The beer will begin to flow into the keg.
Monitor the transfer, keeping an eye on the keg’s liquid level. Be careful not to overfill the barrel, as this can cause issues with carbonation. You can also use this time to take a gravity reading to ensure your beer has reached its final gravity. Then, seal the keg by attaching the lid and confirming it’s securely in place.
After you pack the keg, it’s time to carbonate your beer. Connect your CO2 tank to the keg’s “out” post and set your regulator to the appropriate pressure for your desired level of carbonation. Beer will need some time to carbonate, usually between 7-10 days, depending on the temperature and pressure. After the beer is carbonated, it’s ready to be served! Attach your beer faucet and CO2 line, and pour yourself a cold, delicious pint.
Transferring your beer from the fermenter to the keg can be a delicate process, but with the right equipment and technique, it’s a great way to ensure your homebrew stays fresh and carbonated for longer. Follow these steps carefully, and you’ll enjoy your beer on draft in no time!


