I truly feel sorry for people who are afraid of heights; like genuine sorry because they will never force themselves to grab the rope and start climbing those rocky mountains. And they’ll never reach the top where the sun is different, the air is like nothing you’ve experienced on solid ground, and the view.. oh the view! OK, to be honest, I understand them to some extent. When you look down from the top it can easily make you feel dizzy, especially when you think you have to climb down. How in the world are you going to do it? Well, there are techniques you have to master and then some special gear you have to own, like a climbing descender.
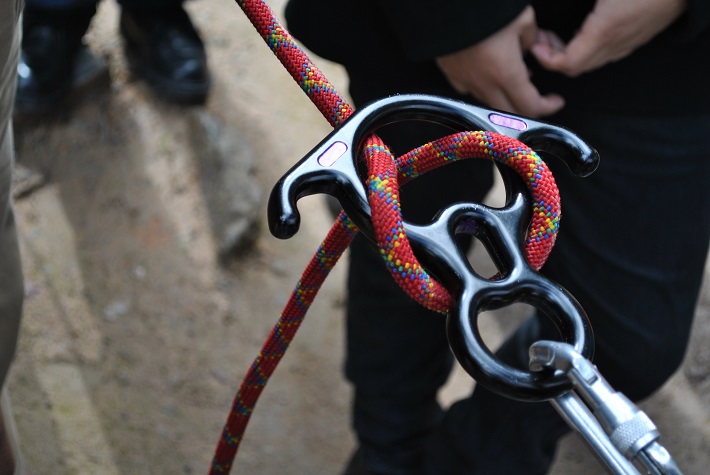
 The climbing descender’s main purpose is to control the descent from a high rock during a rappel. These small devices are mainly made of metal, and have a shape of the number 8. A figure 8 descender can be used for belaying, but as such it doesn’t provide enough friction on the wall which means a climber won’t be able to withstand a hard fall. With that being said, the descender is an important piece of gear for rock climbing, and if you intend to use it, you should definitely know how to do it properly.
Preparation
After your rope and anchor are being checked for security and set above the point of rappelling you should attach the carabiner that serves for locking to the climbing harness. The climbing descender should be in one of your hands positioned with the small hole towards your body, and the larger one away from it.
Setting the Rope in Place
With your free hand (the one that isn’t holding the descender) start inserting the ropes through the centre of the large hole of the figure 8. You would form a bight, which is the slack piece of rope you’re going to pull through the large hole. Then simply attach the locking carabiner to the small hole and secure it. Before you start rappelling, make sure both ends of the rope are touching the ground.
Safety Check
Everything should be carefully checked before you start descending: the anchor, the waist and leg straps should be tightly connected and secured. The locking carabiner should be strongly attached to the harness and the gate should be locked. To test it all, simply move the rope through the descender itself so you are assured it will move smoothly and can provide high friction by altering the angle of the downward parts of the rope.
Descending
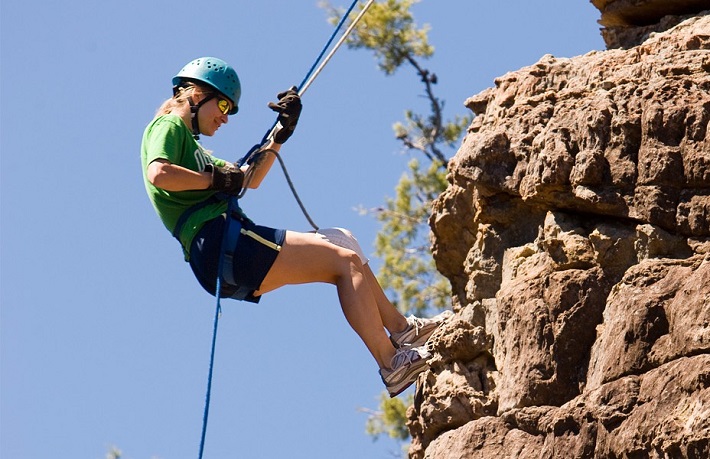
To start the descending process, rely on your stronger arm so you can hold the two strands of the rope as firmly as possible and manipulate the rope so you get down safely. Your other hand will help you for balancing and guiding you on the rope. Your body should also be positioned properly with your back slowly leaned back. With you holding the rope tightly, simply bounce of the rock and simultaneously control the speed of descending. Do not, by all means, let the rope off your dominant hand until you reach the ground.


